Showing posts with label woodworking. Show all posts

Squaring up board edges with a router


If you want to glue the edges of boards together to make larger panels, you need the edges to be square. This is easy if you have a jointer, but you can get the same results with a woodworking router. Steve Ramsey shows you how.


Read Article »

Our Kitchen Remodel (a story in pictures)

kitchen remodel before after

Hello everyone. So, we have finished our Kitchen remodel and I wanted to share the transformation with you. We've actually been finished for a few weeks now (sans the cabinet and drawer pulls) but I have finally gotten around to posting these pictures.

This post isn't really a how-to, but more of a progress collage of pictures. Hopefully it will give you some inspiration. If you have any questions of what we did or how we did it please ask.

We purchased our house a little under a year ago and knew that remodeling this kitchen was going to be the first big project we would tackle. Here she is in all her pre-remodel glory...

Read Article »

Dowel Hole Drilling Jig

This is jig to make holes for dowel without measuring. More precise you make this jig it will work better, so take your time. you can make it from laminated parts also and laser cut it for best results.

Step 1: Main parts

This are main parts. I used two 40mm X 250mm pieces of scrap.

Step 2: Making Slide

For slide I used scrap 4mm plywood.

Step 3: Using your jig

  1. Pinch side of material with jig.
  2. Drill hole
  3. Put dowel in hole.
  4. Turn Jig upside down and put other side of dowel in drilling hole on your jig.
  5. Set slide to touch edge of material.
  6. Align tables and leave space for jig.
  7. Put jig channel over dowel.
  8. Push tool so slide will align to material edge.
  9. Drill your hole.
  10. Repeat for all holes.
Tips
You can drill all holes on one side at one time, makes it easier and quicker.
Use depth gage so you will not drill through material.
This is how to use Woodcraft DowelMaster, idea is similar

Step 4: Variation

This I made for friend and it is with 6mm, 8mm, 10mm holes.
Read Article »

Vintage Style Train Bulletin Build

I was kicking around the shop the last few days over Christmas holiday and wanted a quick project to work on that wouldn't take away form the presents and food!

I have always sorta been a train buff and saw a picture of a train bulletin that peaked my curiosity. They're from the age of train travel and were posted in the stations to alert passengers of the train times and schedule, sorta like what's in airports now. So, with some spare wood and paint, this is what I came up with.

Vintage Style Train Bulletin Build

I cut a spare piece of wood from an 1/8" 4x8 sheet of plywood at 2' x 4'. (I am limited to this size because that is as large as the Sizzix machine will cut.) I also cut and routed the frame out of spare 1x2's. I then spray painted the 2x4 with chalk board paint and then stained and sealed the frame.


I designed the plans in Photoshop and then cut it out using the Sizzix eClips to form the template for painting.


I then transferred this to the sheet of wood which I had painted in chalk board paint and sprayed it white.


After the paint dried I removed the stencil and mounted the frame. Quick and easy! What do you think?


Read Article »

Clamping Squares

If I was a superhero, my weakness would be glueups. Thankfully, those aren't really needed in the crime fighting business ... yet.
Maybe I don't plan ahead. Maybe I'm too impatient and just desire instant gratification. Maybe I'm just not that good at woodworking. I'm not sure, but tons of people are really bad at driving and they just keep doing it.
I'm making some games for Holiday gifts and they all have mitered sides. I have a shop made clamping jig for picture frames, but it isn't good for taller sides like these. I tried a band clamp, but there was some sliding. I moved up to some pin nails, but there was still some racking. I want this thing as square as possible (I know it won't be 100% square because life taunts me).
To the scrap bin!!

Step 1: The Material

I have a bucket of corner cut offs ... left over from a project which required discs. The dics were cut from plywood squares, so these corners are already square. I also checked them to make sure.

Step 2: The Layout

I need holes large enough for my clamps and far away from each other to give room for afore mentioned clamps. For me, this was 3" from each squared corner and then 1 1/8" in from the edge to intersect that mark.

Step 3: The Hole Drilling

I made my holes 1 1/2" with a forstner bit.

Step 4: The Clamping

Put your square in the corner and add your clamps. The only thing left is to smack yourself in the head for not making a stack of these years ago (my head still hurts).

Step 5: Update: Cleanup and Modification

Using a temporary stop block on my miter saw, I trimmed the square side lengths to be even and then trimmed the front straight. All cosmetic.
Lastly, as suggested by a member of the community (good call dimtick), I nipped off the back corner to allow for any glue squeeze out, which would otherwise make these blocks part of your project. Non-Super Hero Teamwork!
Read Article »

Wooden 6 Pack Holder

Do you ever see those cool wooden 6 pack holders on Etsy that are ridiculously expensive? Well, with this Instructable, you can make your own for a fraction of the price!

Step 1: Materials

Materials- 36" x 5.5" x 0.5" pine board
- 36" x 3.5" x 0.5" pine board
- 12" x 0.5" oak dowel or metal pipe
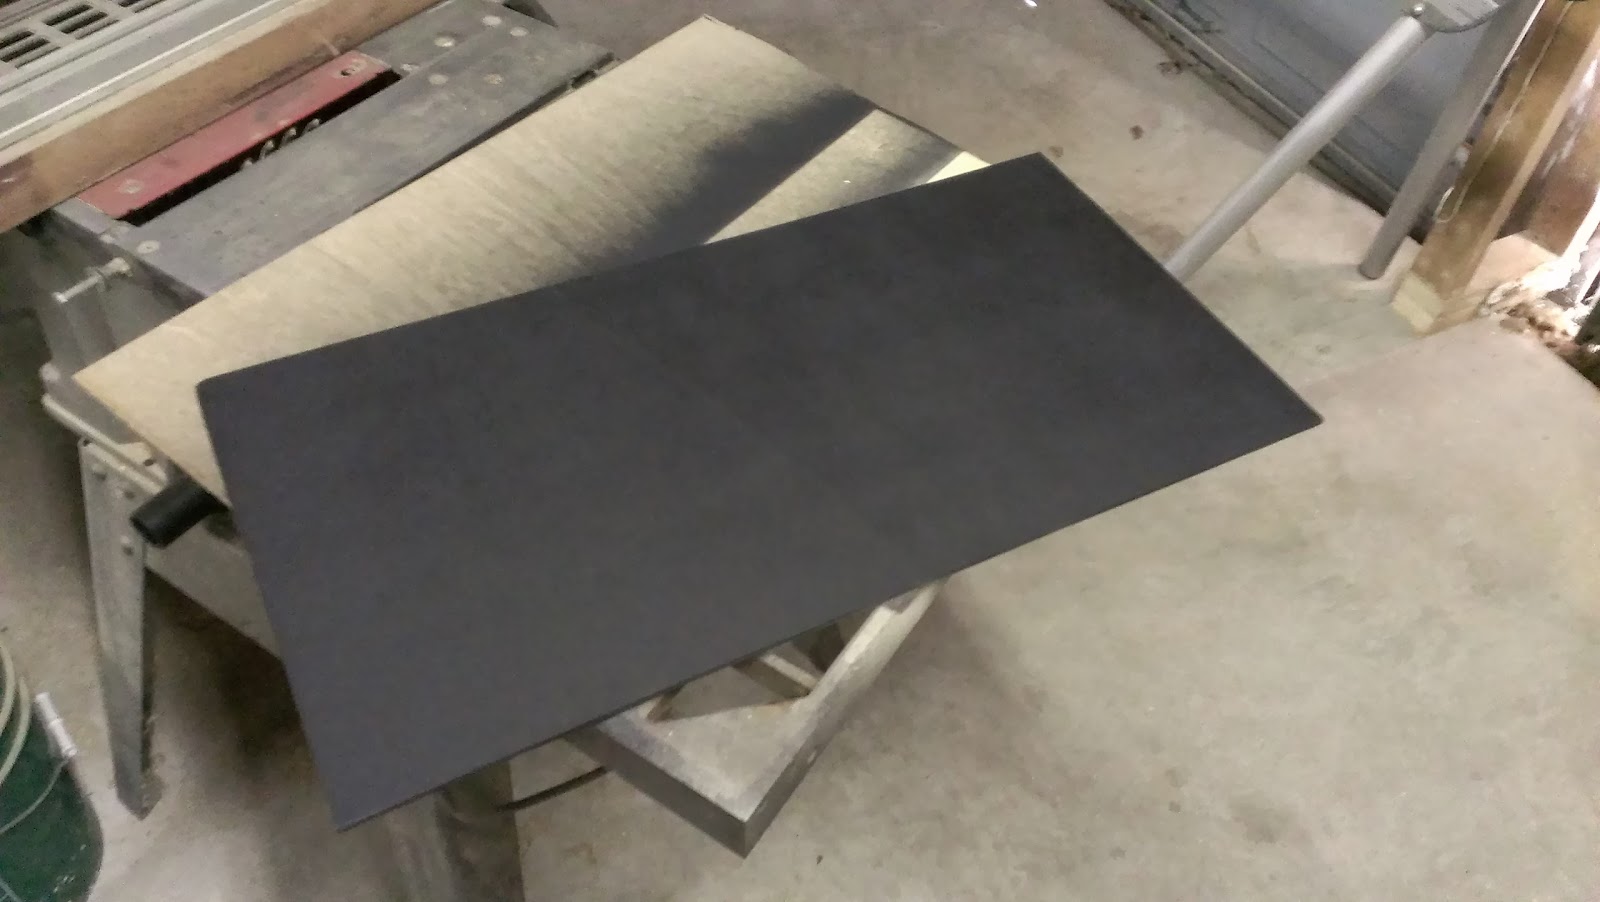
- 5 mm thick plywood or board
- nails
- glue
- (optional) ~30 ft twine
- (optional) Wood stain
Tools
- Miter saw
- Clamps
- Drill with 0.5" drill bit
- Hammer
- Hand saw
- (optional) Pyrography tool

Step 2: First Cuts

So you should have 3 boards (picture 2)
On the 36" x 3.5" x 0.5" board
- Cut 2 times at 22.67 cm (picture 3, ignore the writing on the boards) (Boards 3A and 3B)

Step 3: Cutting the Spacers

Using the 5 mm thick plywood/board
- Cut 2 long pieces (7.5 cm x 13.7 cm) (picture 1)
- Cut 3 short pieces (7.5 cm x 6.2 cm) (picture 2)

Step 4: Angle Cuts

On the miter saw, adjust the angle to 25 degrees. You can choose your own angle if you want, but i have found that 25 degrees just looks nice and is pretty easy. (picture 1)
On Boards 1A and 1B (13.8 cm x 27.75 cm x 1.27 cm)
- Mark on the top 3.8 cm inwards (picture 2)
- Using the miter saw, cut the boards at 25 degrees (picture 3)

Step 5: Holes for the Handle

Now that Boards 1A and 1B have their 25 degree cuts, we need to cut holes for the handle.
- Find the center of the board vertically (up and down)
------>You can do this by taking the measure of the length of 1A and 1B (13.8 cm) and dividing it in half. You should get 6.9 cm and mark this on the board at the bottom and around the middle. Connect these 2 marks with a straight edge, going all the way up and down. Now you can see the center of the boards (picture 1)
- At the top of the boards (the sides with the angle cuts), measure 2 cm down from the top and make a mark. This is where we will drill the hole.
- Using a 1/2 inch drill bit, make the hole exactly on the dot you just made (picture 2)

Step 6: Cutting the Handle

I forgot to take pictures at this part, but it is very straight forward.
You can use either a metal pipe (as I did) or a hardwood dowel for your handle. Avoid softer woods like pine because it may not be strong enough to support 6 full, glass beer bottles.
- Cut the 1/2 inch dowel/pipe at 22.67 cm.

Step 7: Sanding and Optional Decoration

Now that everything has been cut, you need to sand down the wood, patch any knots, etc. From this point, you can customize your 6 pack holder in a few ways:
- Stain the wood (picture 2)
- Add pyrography (pictures 3 and 4)
--------> If you want to learn how to do pyrography, check out my otherInstructable.

Step 8: Gluing the Bottle Spacers

On Board 2, you will need to make lines so that you can accurately glue down your bottle spacers.
- (step A) Using the trick from step 5, make a line bisecting Board 2 horizontally (6.9 cm)
- (step B) For the second set of lines, you can use the same principal, but instead of dividing by 2, you have to divide by 3. This means that you will have lines every 6.72 cm.
- Using these lines as guides, begin gluing the 2 long spacers (7.5 cm x 13.8 cm). I found that using an angle clamp helps a lot. (picture 2)
- When those are dry, begin gluing the 3 small spacers (7.5 cm x 6.2 cm). (pictures 3 and 4)
Make sure that the spacers do not extend beyond Board 2. Sand them down if you need to.

Step 9: Hammering it all Together

Now is the time to put everything together and see your hard work pay off. You can glue everything together, but nails are much faster. This may be a bit confusing, but just refer to the pictures.
- Take Board 3A and clamp it to Board 1A (picture 1). Nail the two Boards together (picture 2).
- Repeat this with Board 3B on the other side of 1A.
- Now that Boards 3A and 3B are nailed to 1A, clamp 1B onto the opposite end (picture 3)
- With all the 1 and 3 boards nailed together, you should have something that looks like picture 4.
- Slide in Board 2 (with the bottle spacers). If it does not fit, you may need to sand a bit off the side. (picture 5)
- Nail Board 2 on all four sides (picture 6)

Step 10: Handle

- Take the handle you cut in step 6 and push it through the two holes on Boards 1A and 1B. If it does not fit, you may need to sand the ends of the the handle or widen the holes.
- (Optional) You can wrap the handle with twine. You will need around 30 feet of thin twine (or less if you use thicker twine). Start by tying a clove hitch on one end. Continue to tightly wrap the twine around the dowel/pipe until you reach the end. Finish it off with another clove hitch.

Step 11: Fill it up and Enjoy!

Congratulations! You have now made a wooden 6 pack crate.
Thank you for reading my Instructable.
Read Article »

Follow My Inspiration On Pinterest

JonnyChapps Stats